

One of the things we have learned about owning a boat is that the to do list is always growing and never complete. As soon as we started prioritizing a couple of the key tasks on our list, we noticed some water drips from a few of the opening ports in the main salon and aft stateroom. Since one of our key goals is “Keep the water outside the boat”, we decided to add sealing the ports to the top of the list before winter set in again.
Cutting a trench for sealant around the port
When we resealed the large windows in the main salon we found out that the boatyard originally used some kind of “permanent” sealant. Based on that experience we were suspicious that it would be just as difficult to remove the 10 opening ports. With a deep breath, we picked one port and started. After a few hours of prying, pulling, scraping, pushing and digging we made no discernible progress, except for generating a lot of sweat. It was clear that removing the ports would lead to a lot of damaged teak and an angry crew. We clearly needed a different approach.
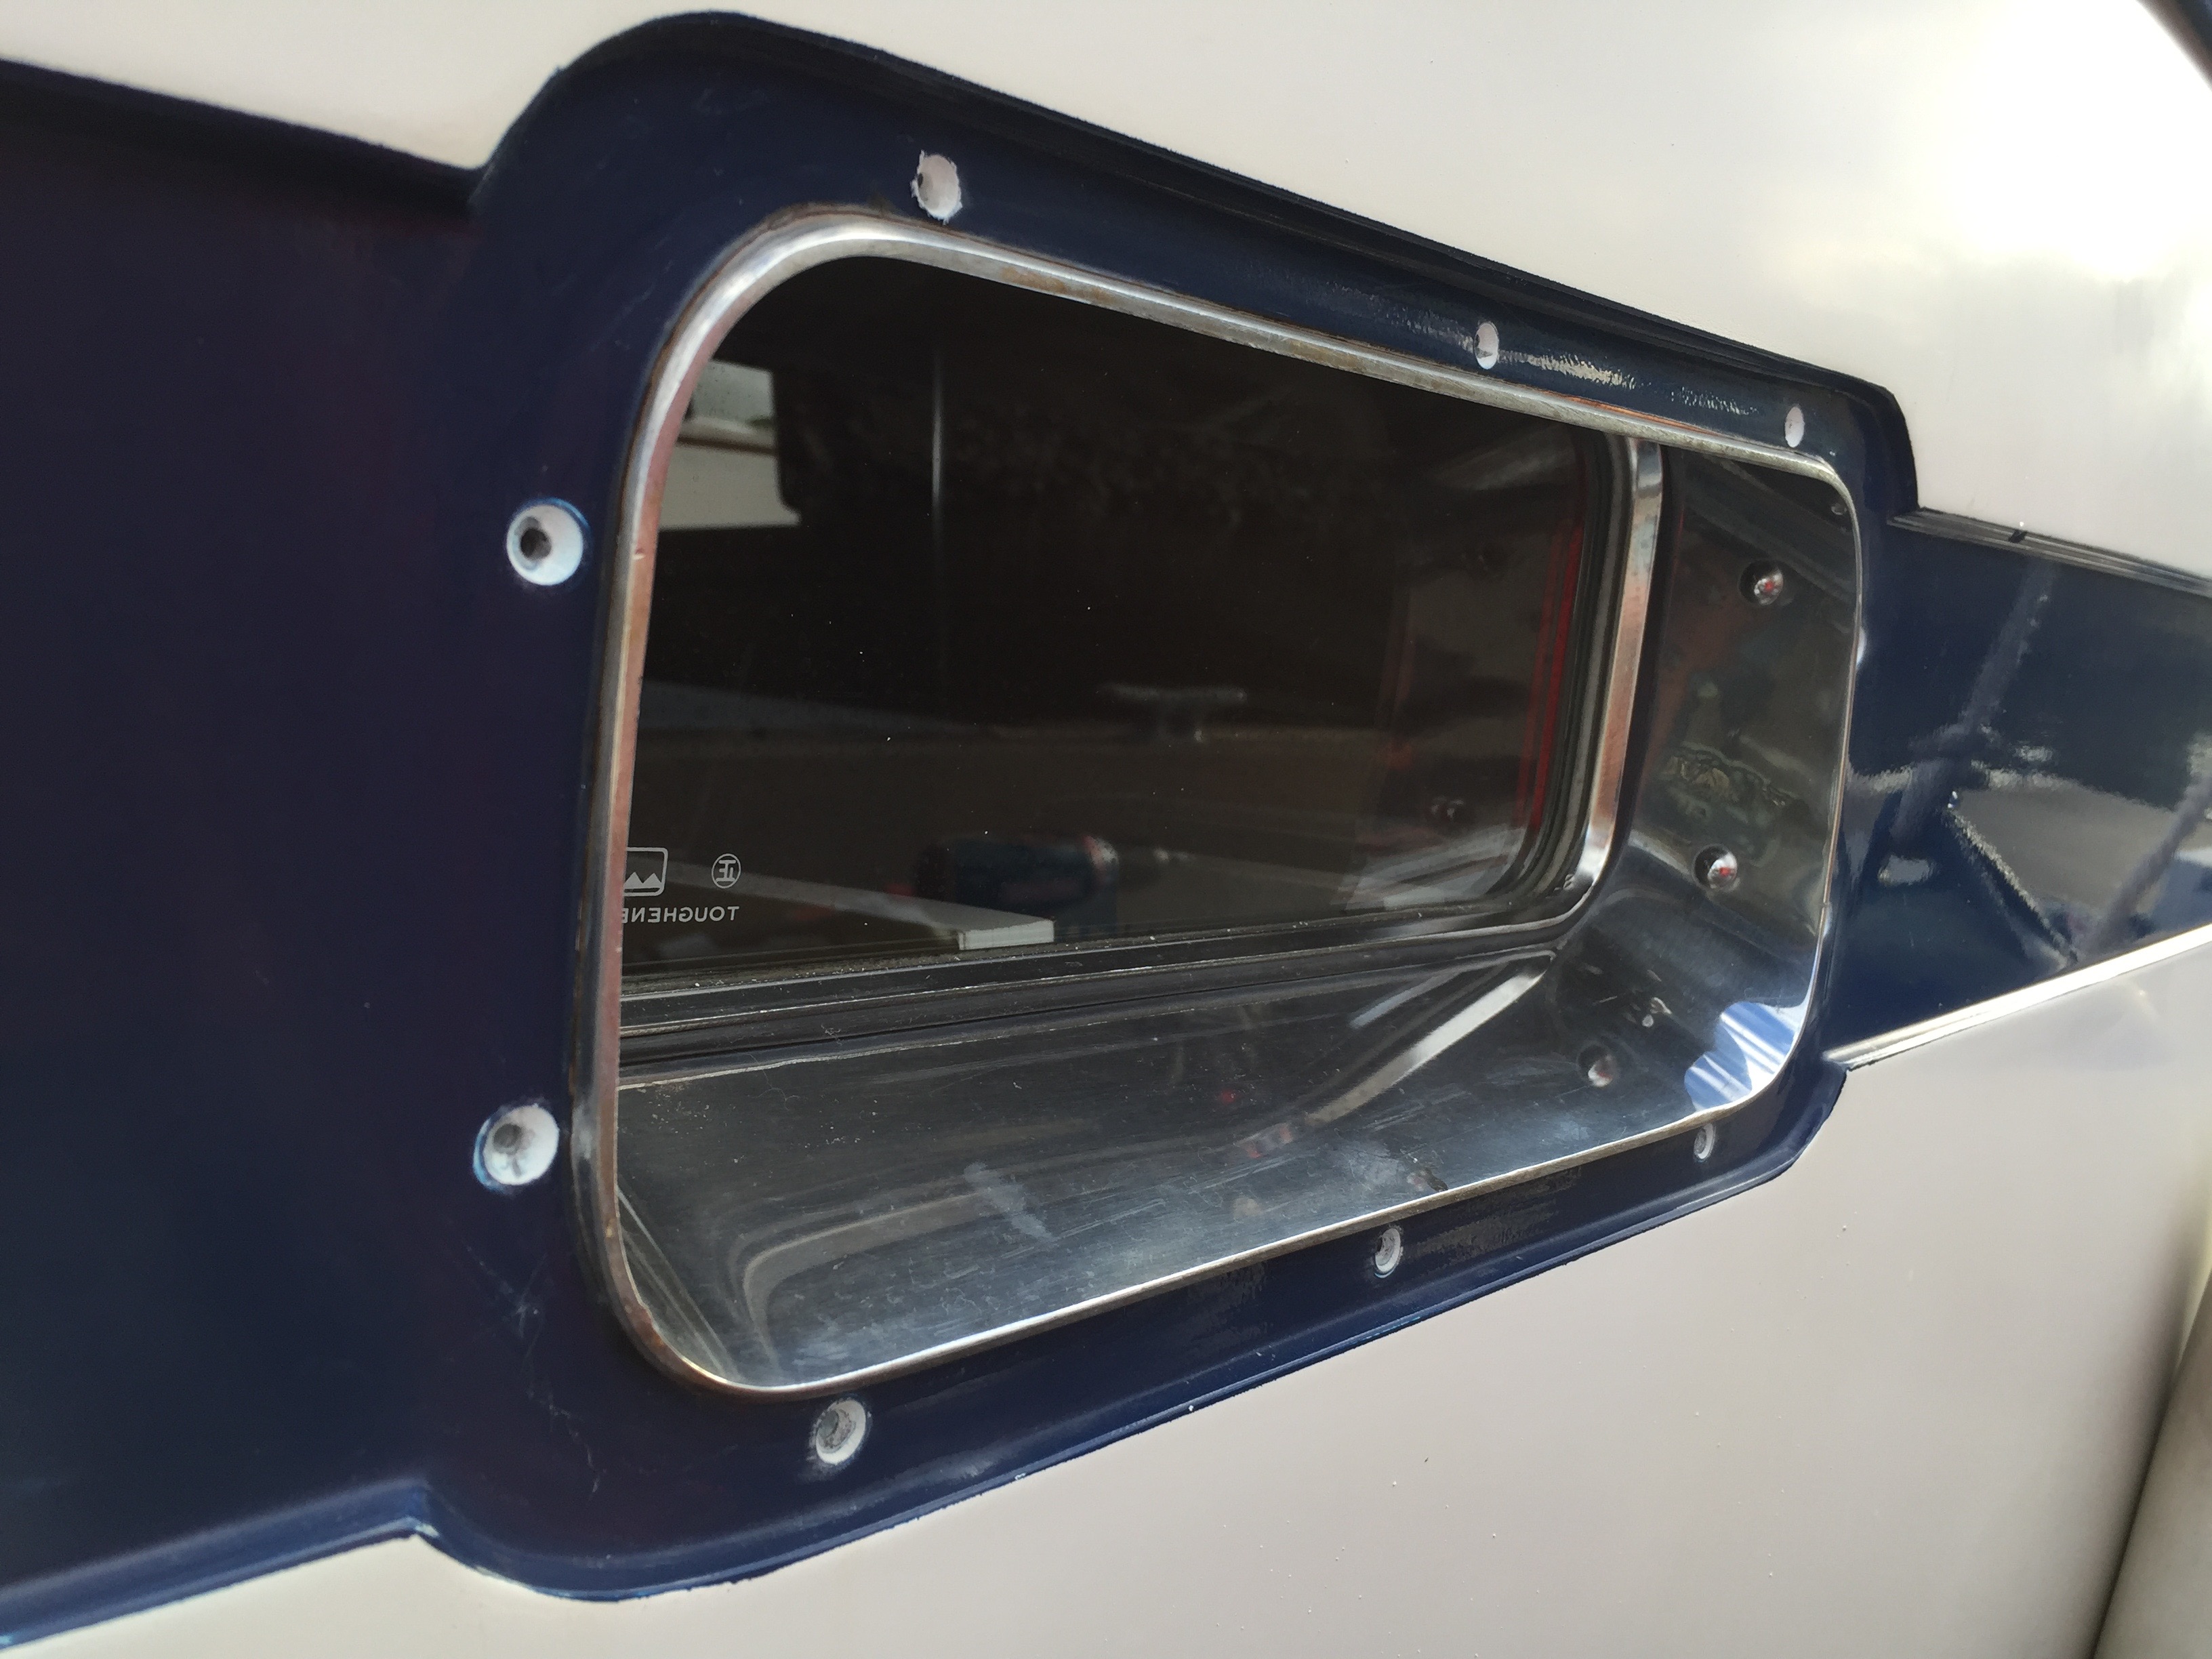
Mounting holes for frame, each with a countersink to hold some sealant
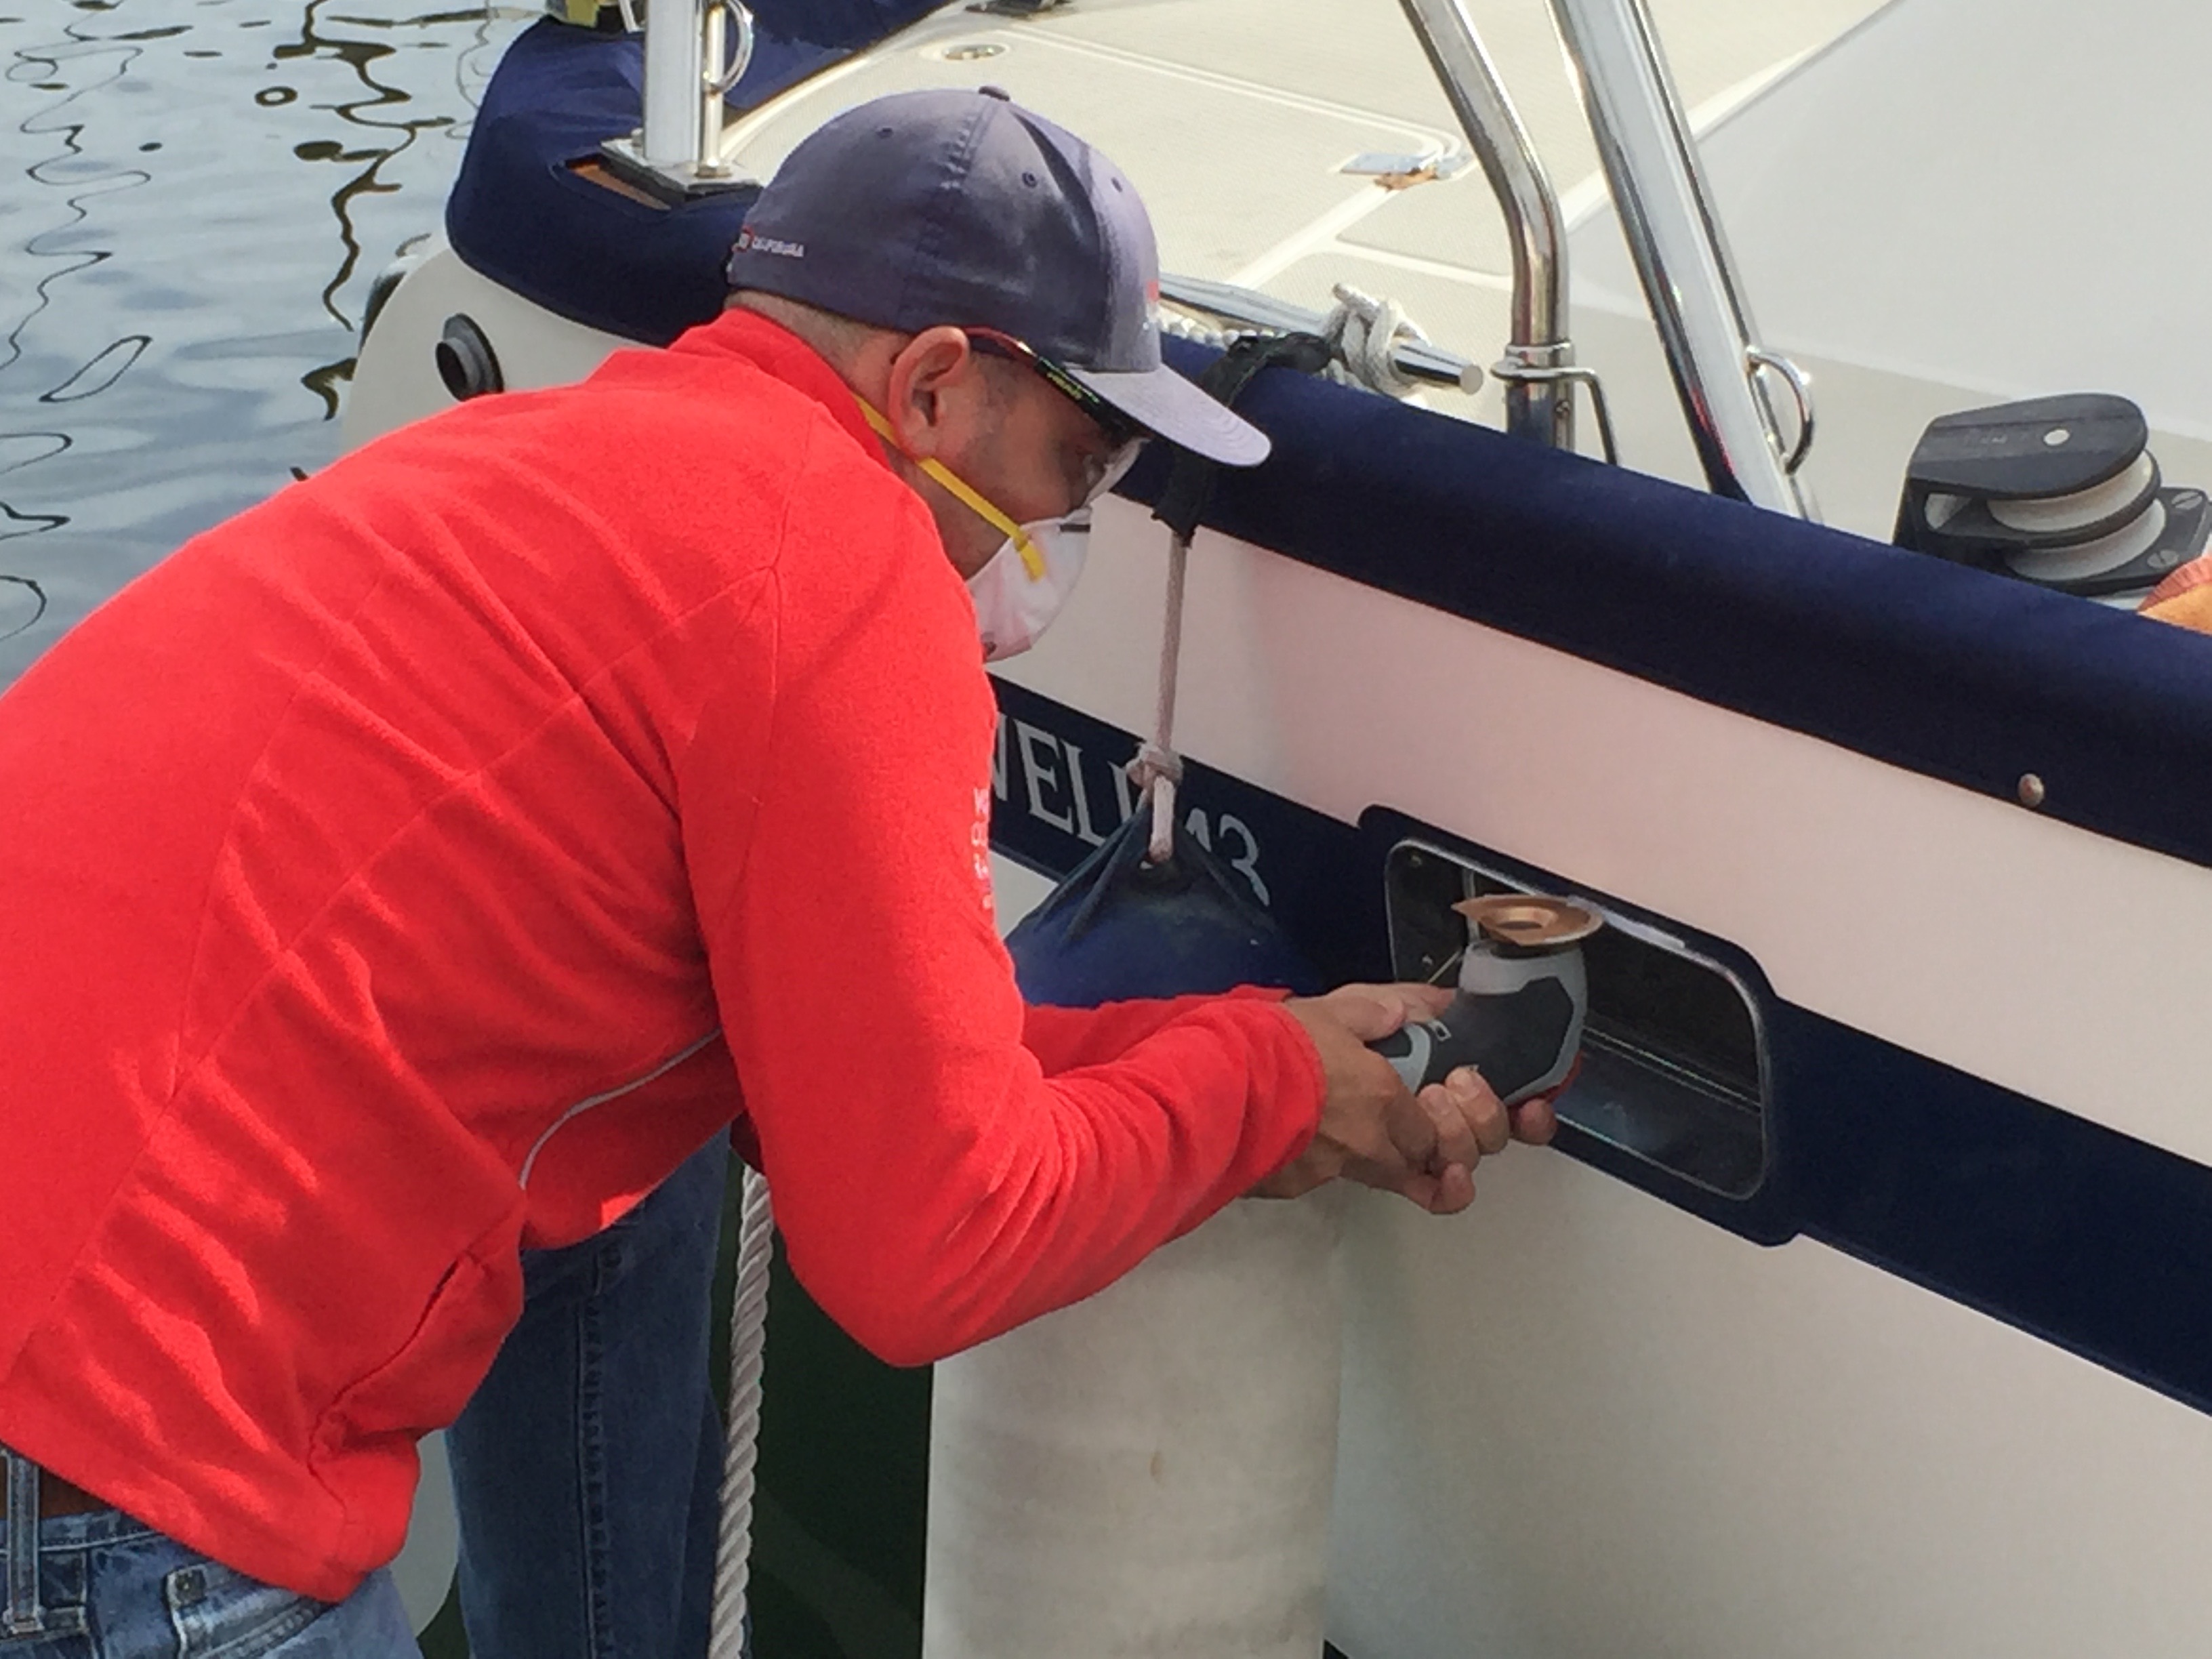
After thinking about it for a few days we hit on the idea of injecting the sealant from the outside of the port and compressing it into place with a trim piece. The only problem is that the ports didn’t originally come with external trim, and the ports are set in recesses in the hull, all of which are slightly different sizes.
Trenched, countersunk, and cleaned – ready for sealant
No problem – out came the calipers. We measured all of the ports and the area around them, calculated the size of trim pieces that would fit, and made a drawing of the design we wanted. The next step was to contact a local laser cutting shop who was able to order the mirror polish stainless steel plate and cut it according to our drawings. A week or so later, we had our trim pieces, and nearly all of them actually fit.
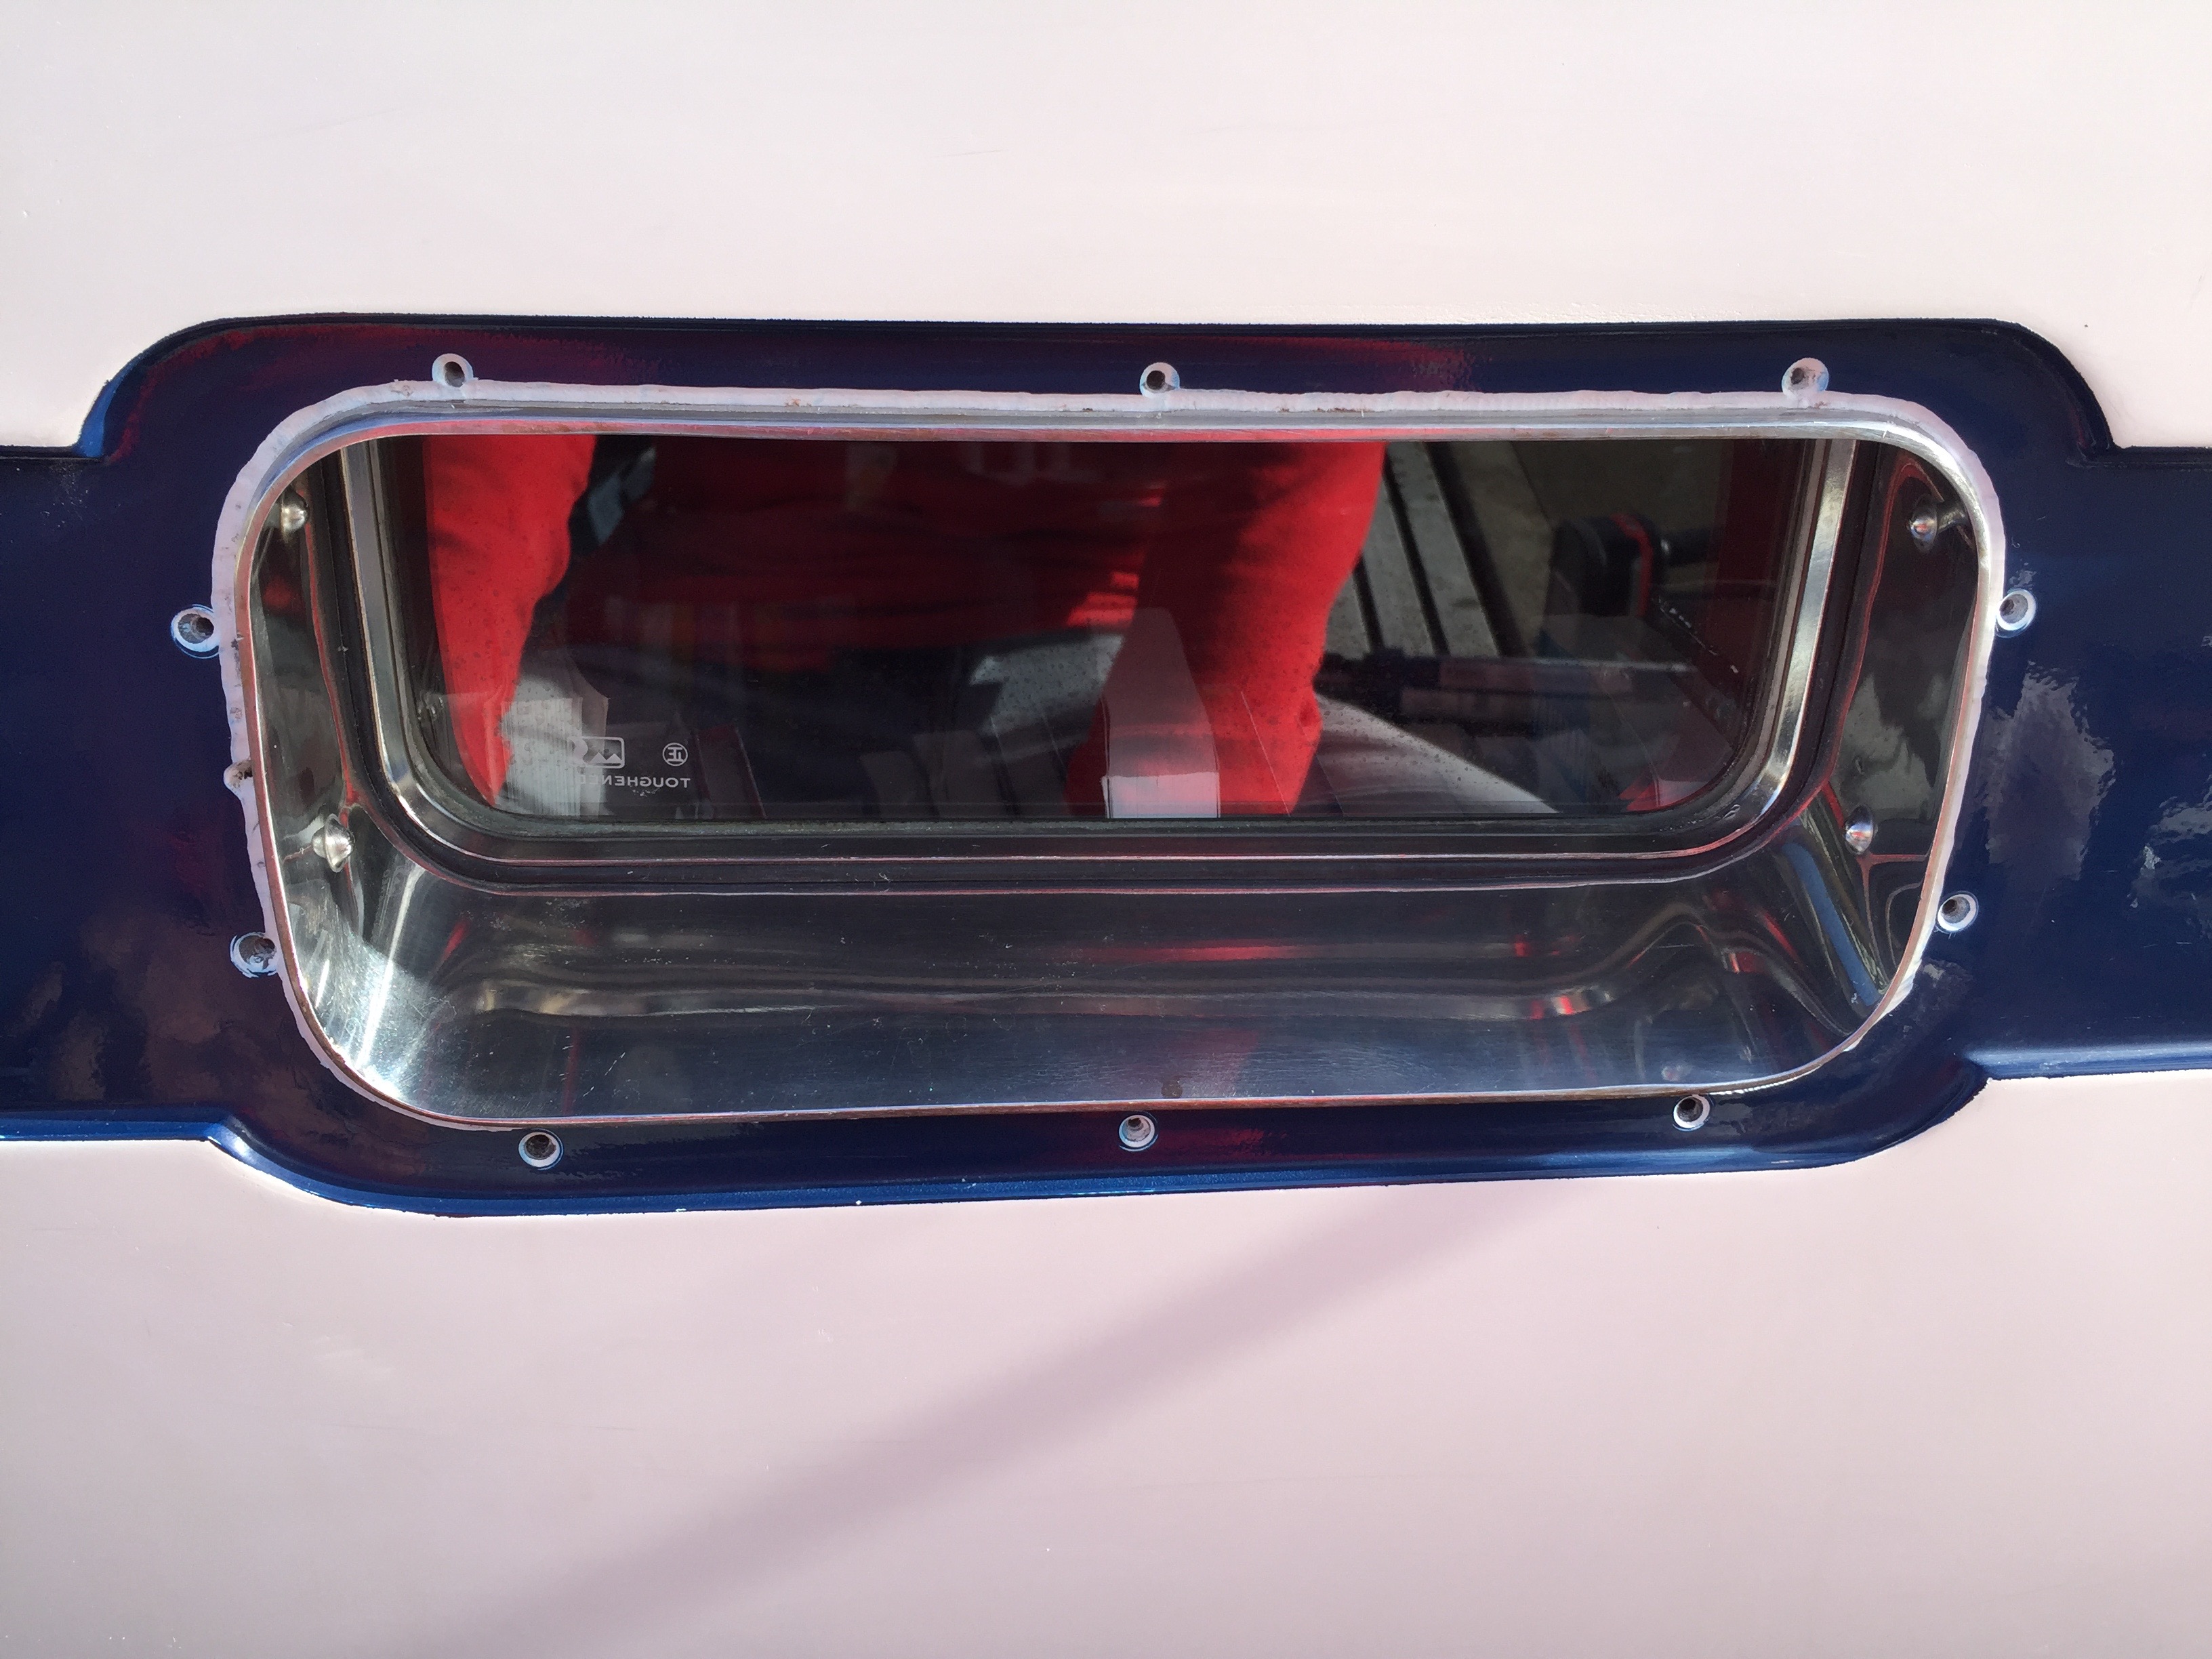
Adding sealant around the port to be compressed by the frame
The first step was to grind a trench (about 1/4” deep x 1/2” wide) around each of the ports using our handy Dremel tool. Next came drilling mounting holes for the trim pieces and then countersinking each one to form a recess for the sealant. Then we cleaned, and cleaned, and cleaned to prepare for the placement of the sealant and trim.
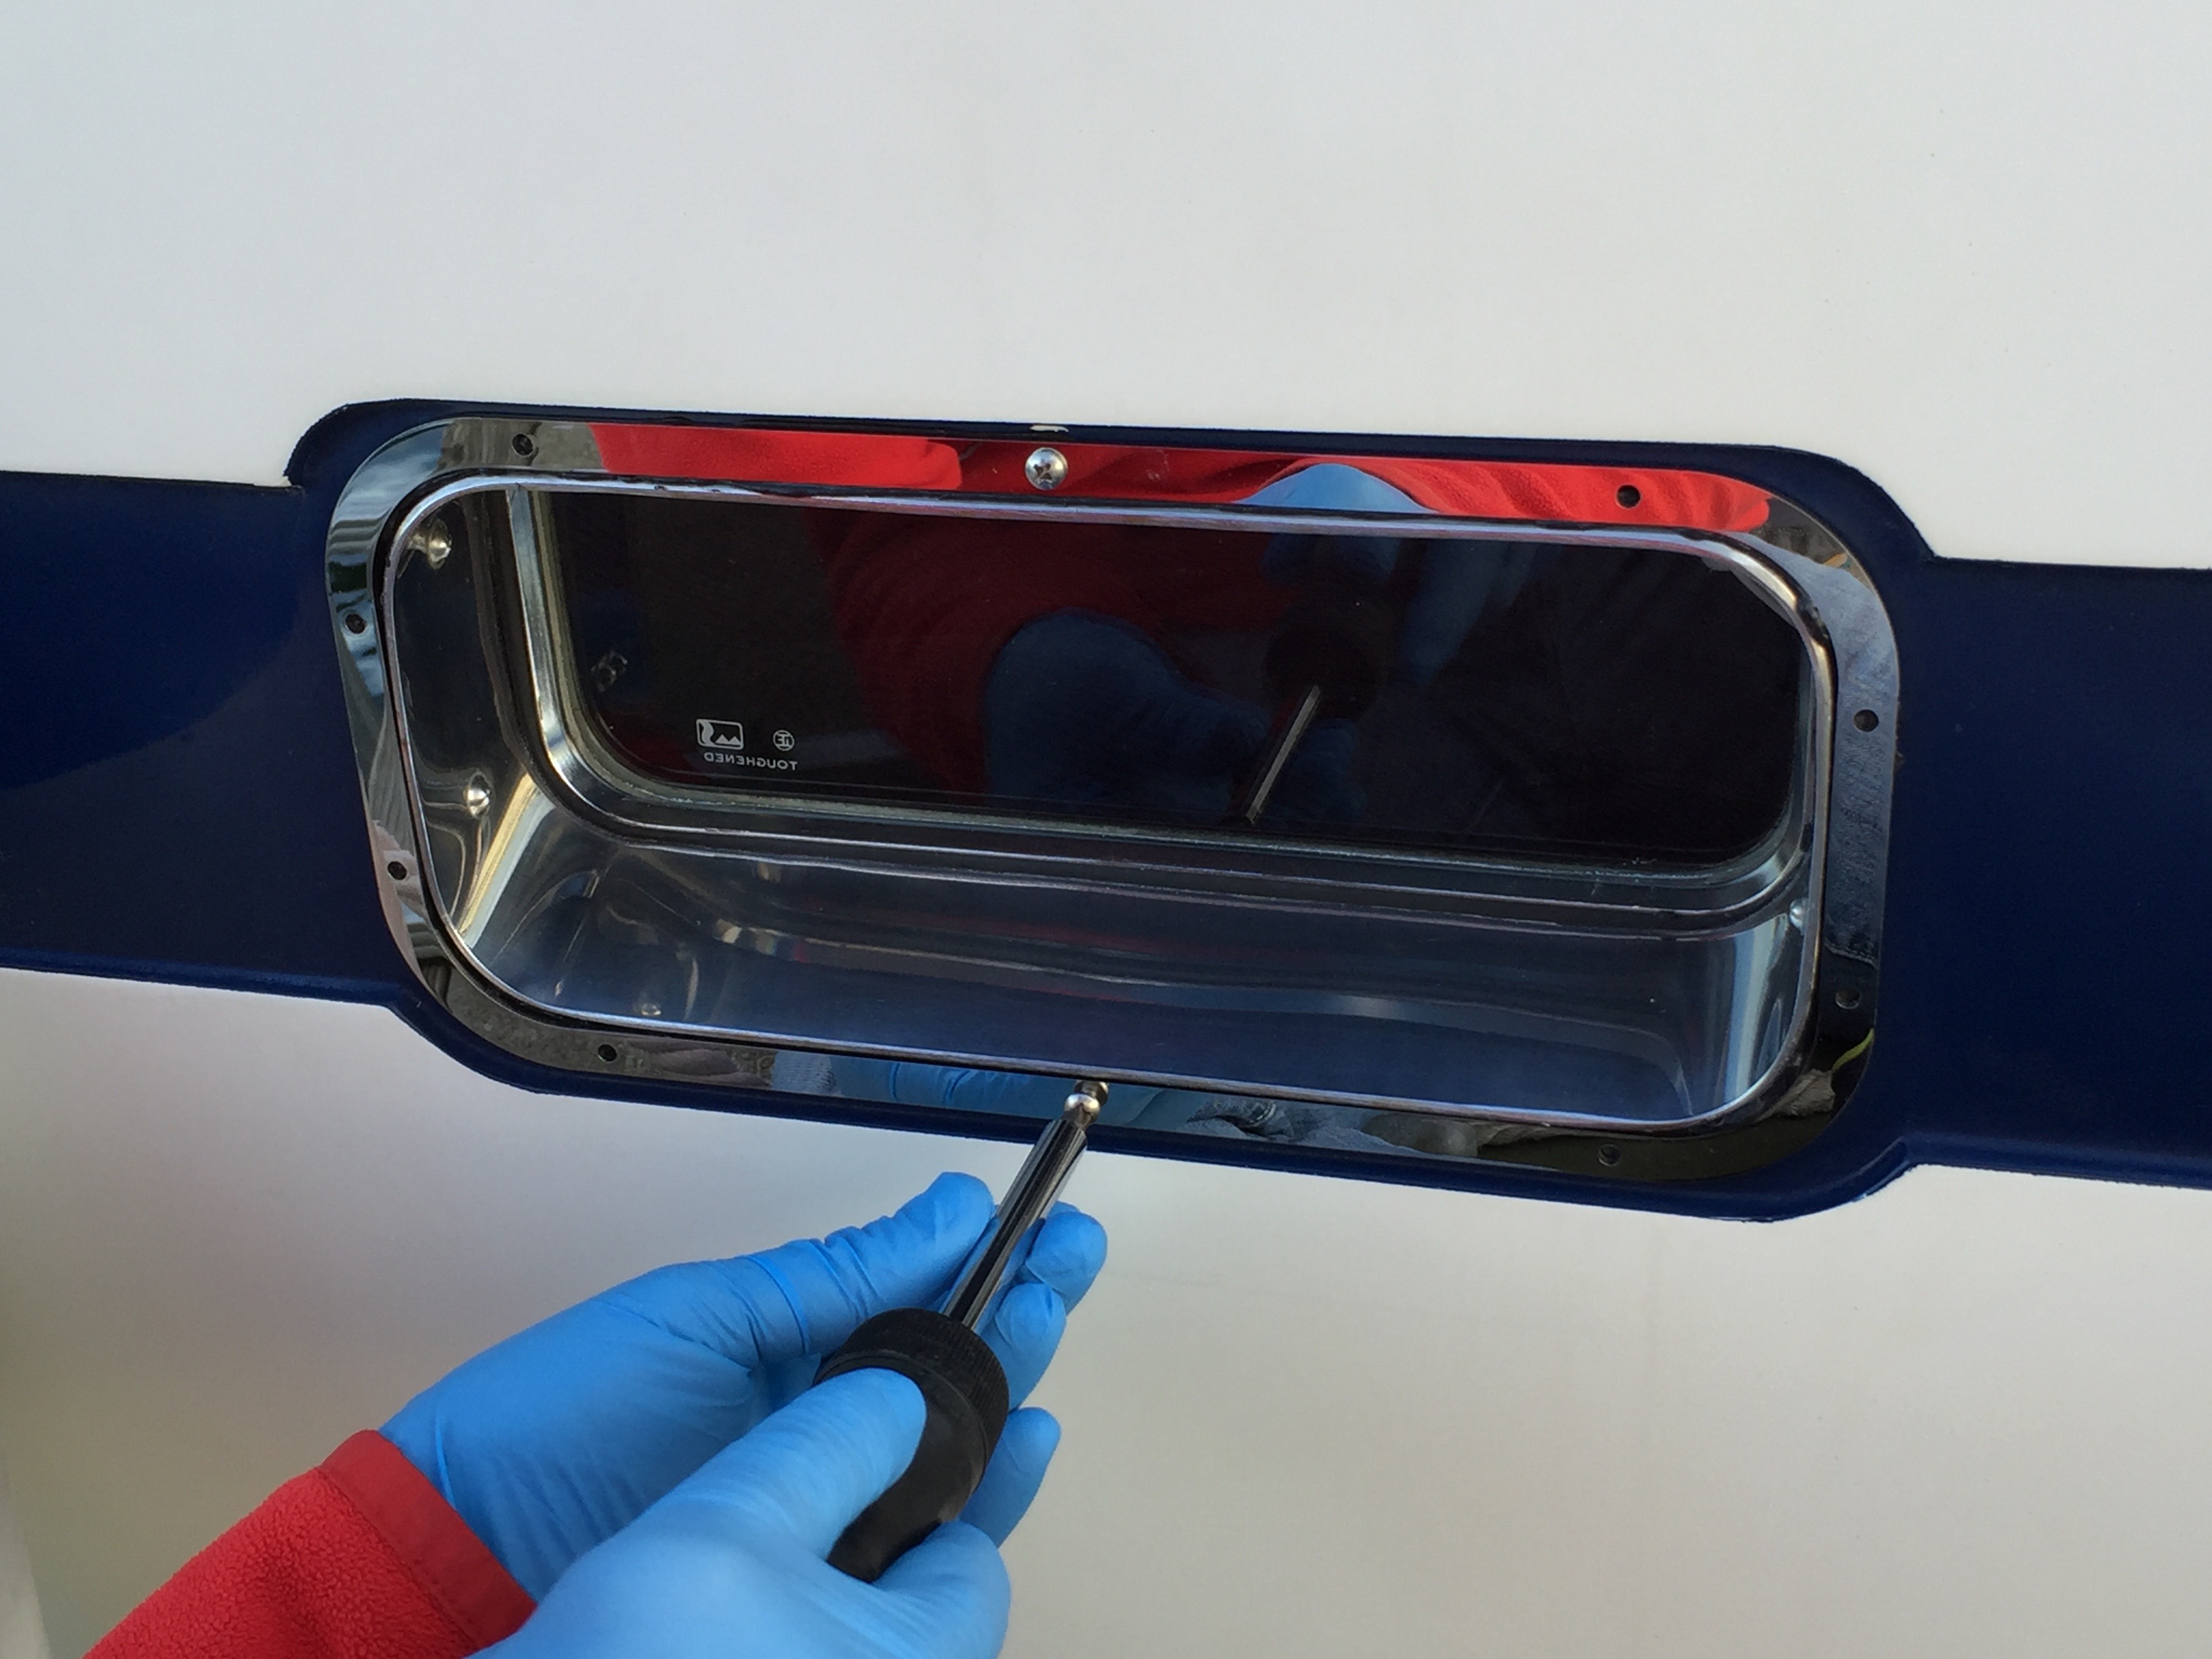
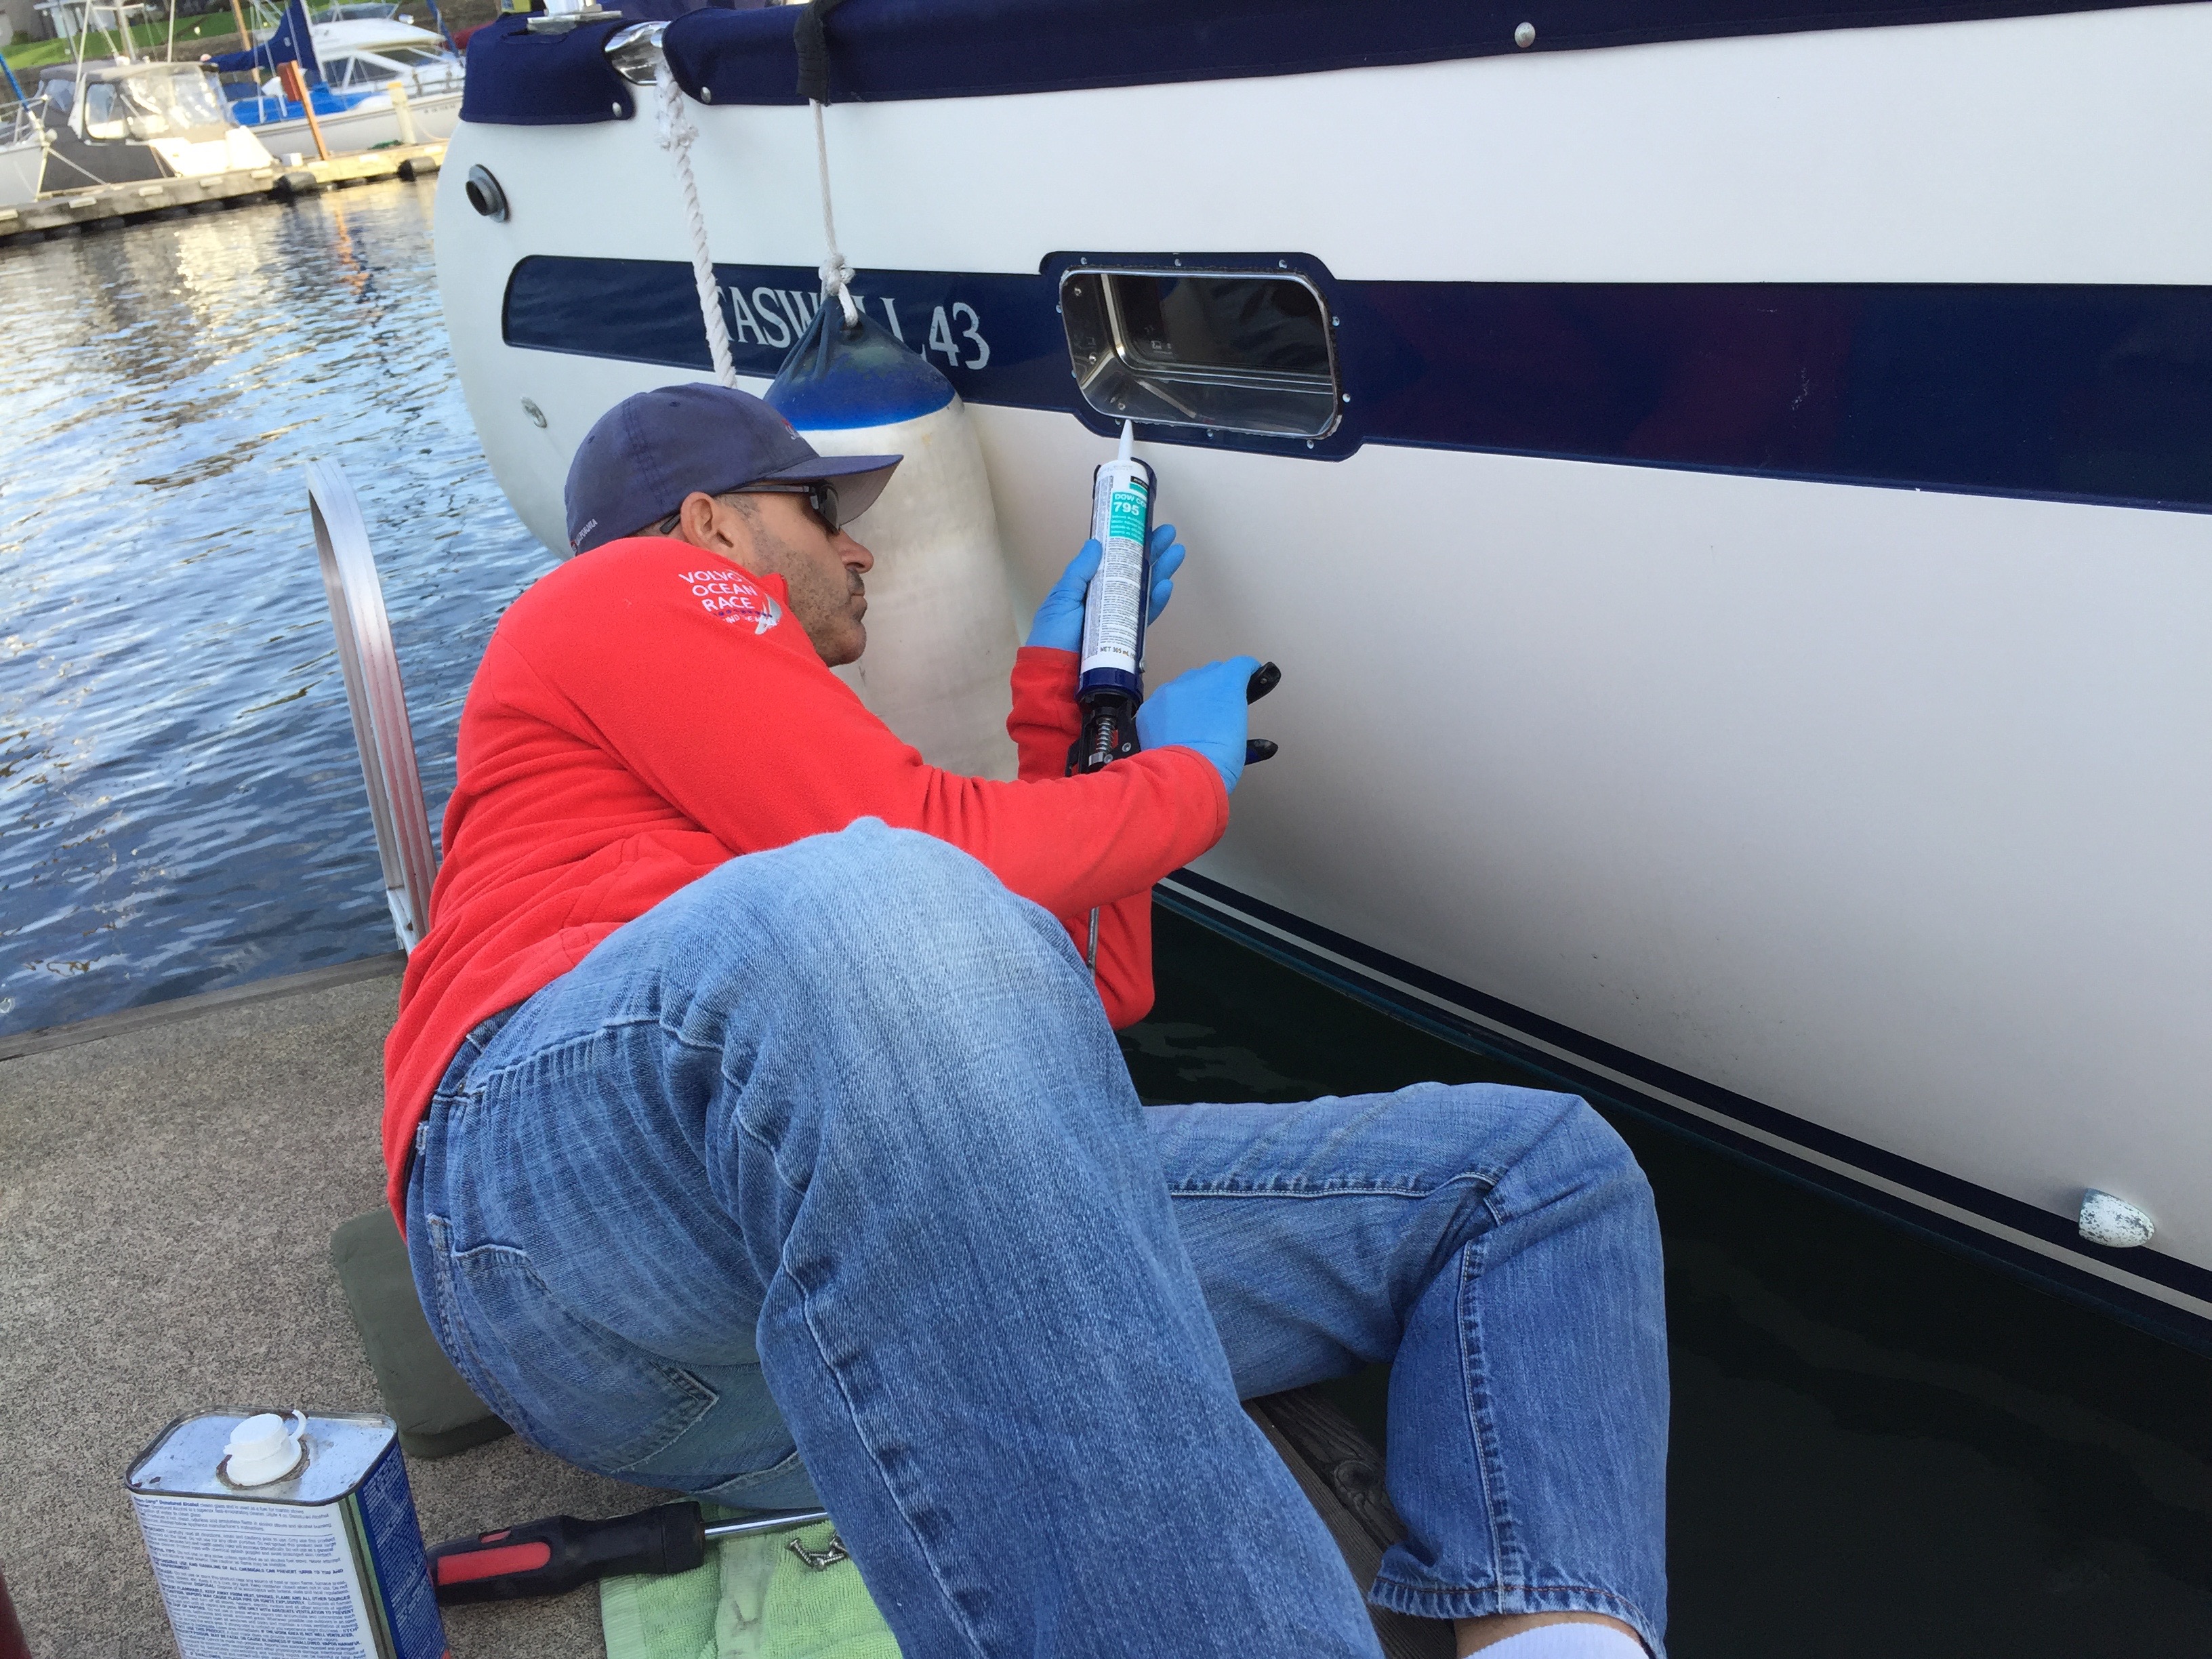
Screwing the new trim piece into place
Finally we applied Dow Corning 795 sealant in the recess and in the area where the trim piece would contact the hull and screwed them into place. After each port trim piece was in secured, we cleaned up all of the squeeze-out with lots of Q-tips and mineral spirits.
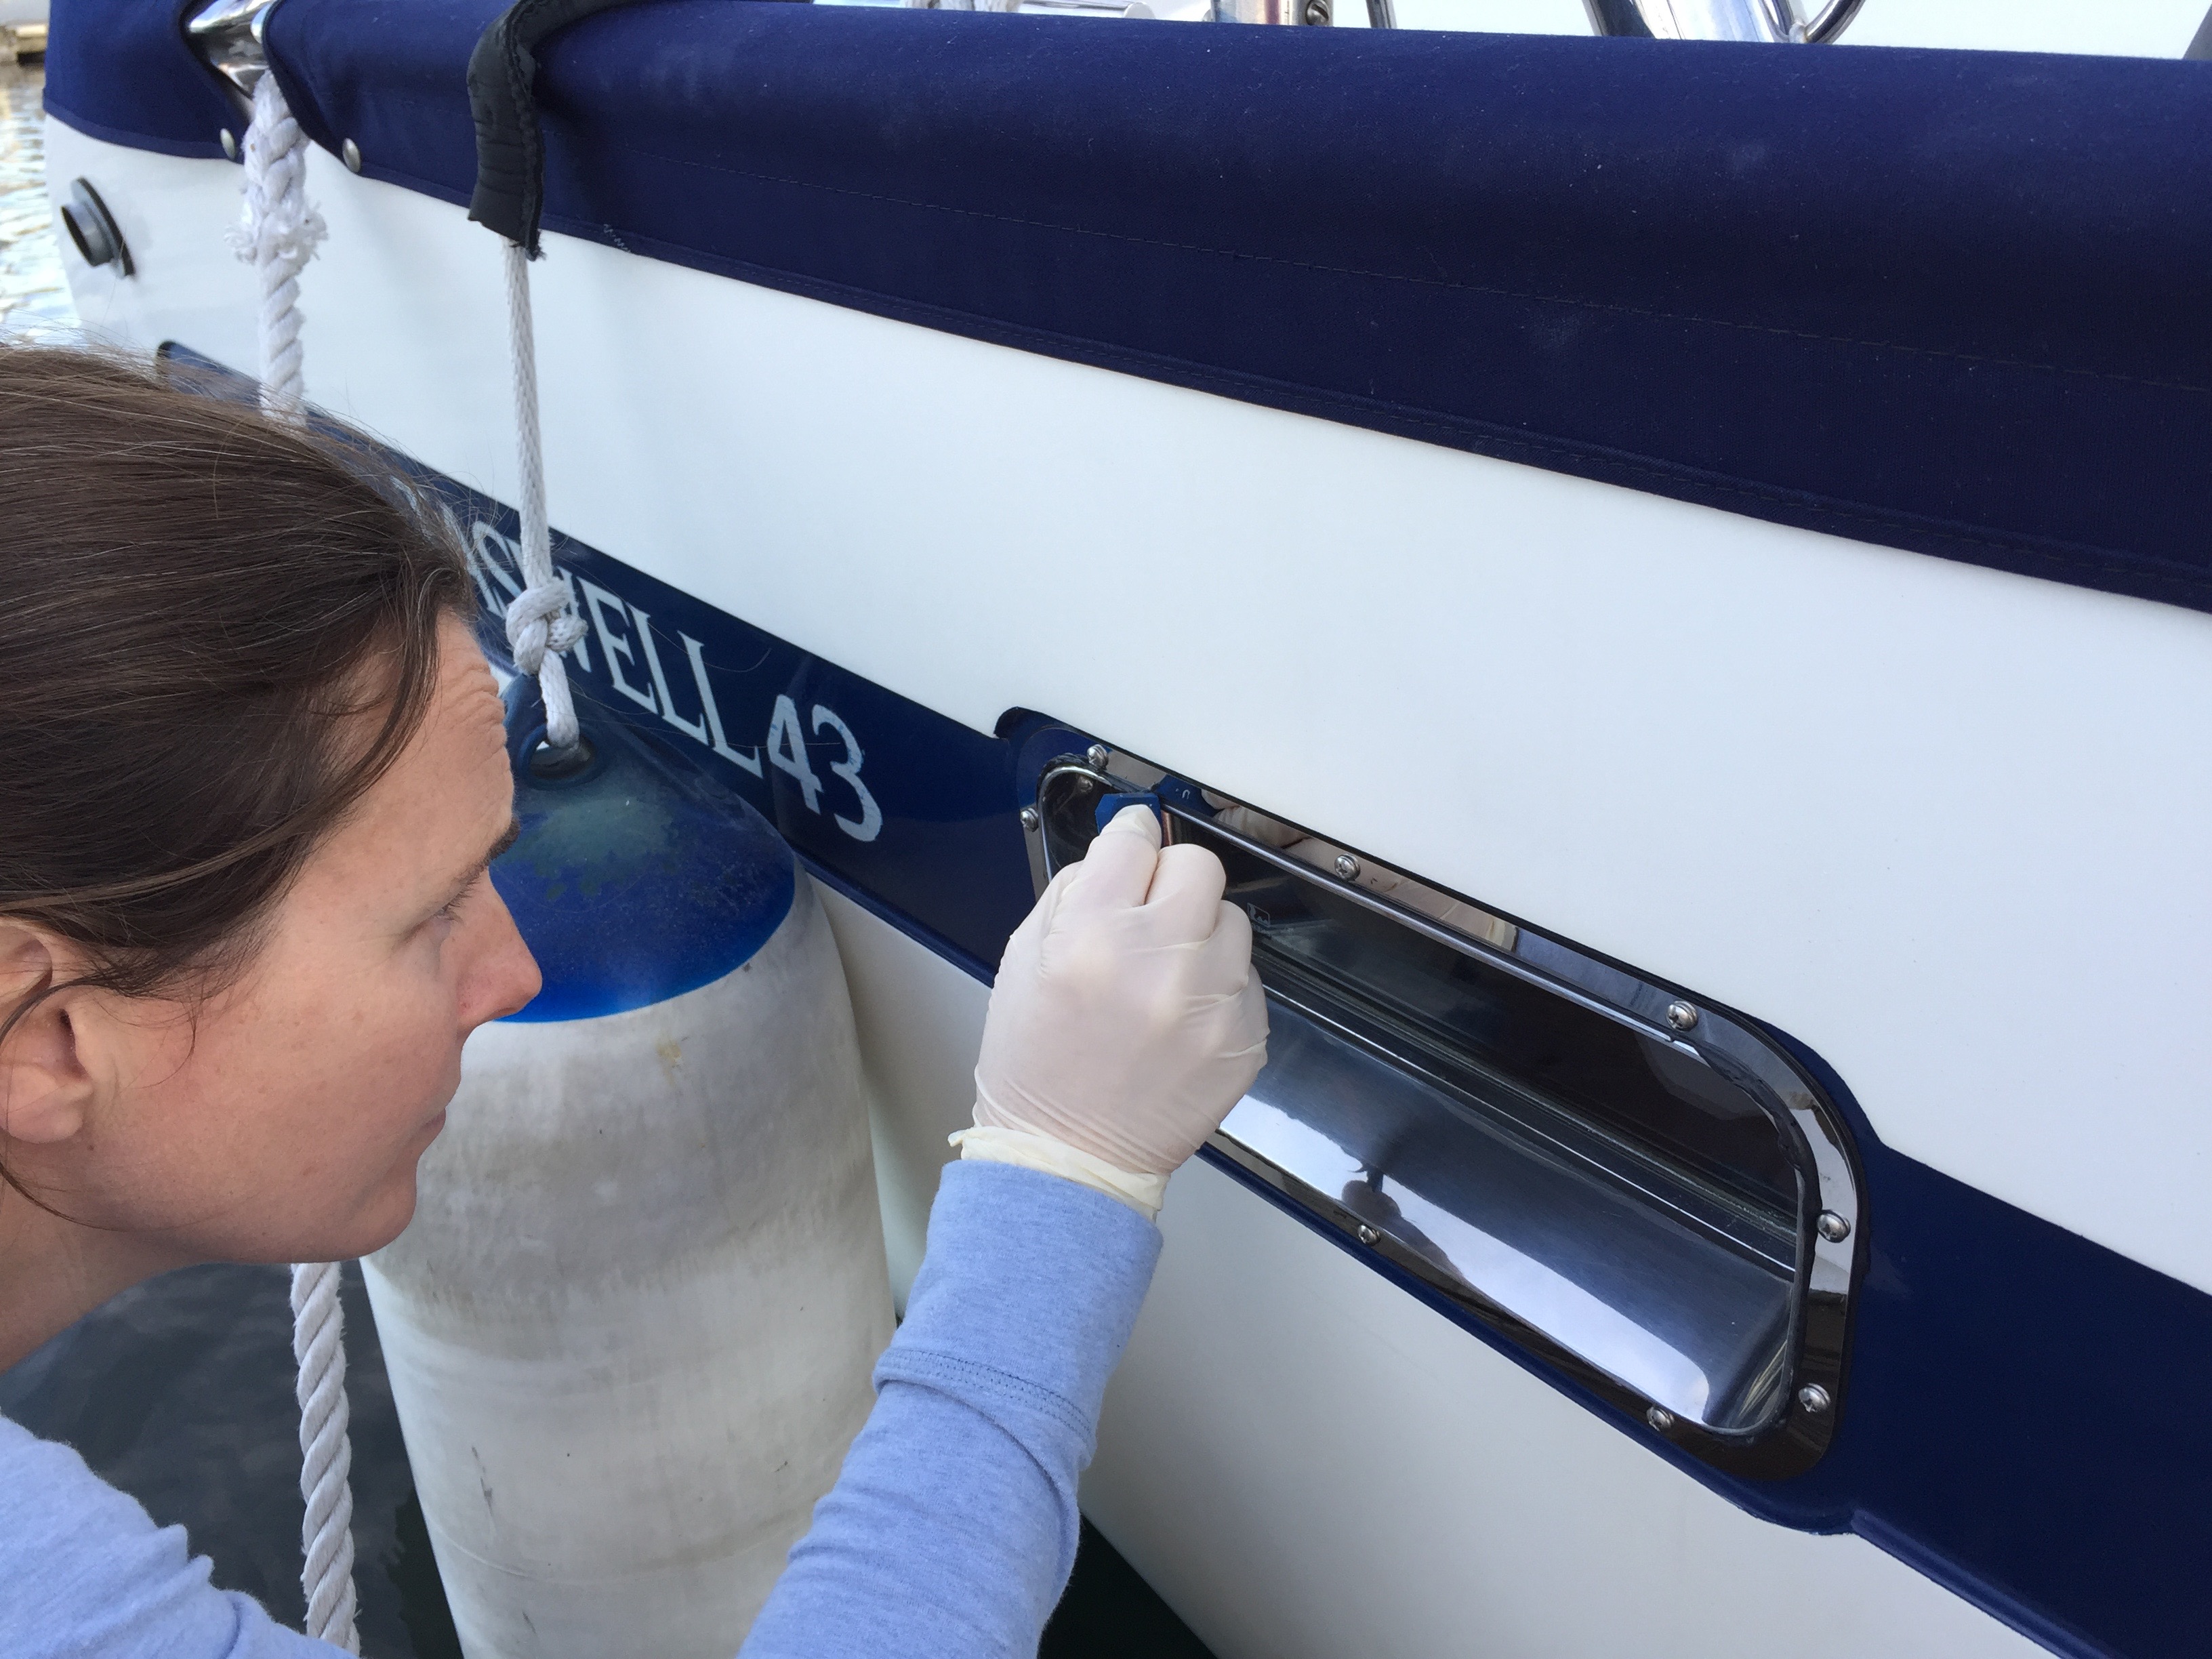
Cleaning up all of the excess sealant that squeezes out under the frame
After 4 weeks of working nights and weekends we were very pleased with the outcome, and no more port leaks! (This was tested & verified by the wettest Oregon winter in 100 years)