


Some of the important tools for motor mount replacement
Summer in a marina in a hurricane zone is not great for sailing – the weather is too hot and the threat of storms prevents traveling too far from the dock. But all that time tied up does provide a good chance to tick some items off of the never-ending maintenance list.
At the top of that list are the motor mounts for our trusty Yanmar diesel. Now nearing 25 years old and across the 2000 hour running time threshold, the mounts are probably due for replacement. Compounding that is the torque that we put on them when we wrapped a crab pot line around the prop on the Columbia River on our way to Alaska a few years ago.

Two bus rides were required to buy a small hydraulic jack we needed to lift the engine
Since marine diesels shake and vibrate as they run, they’re typically attached to the rigid boat with flexible rubber spacers called motor mounts. These mounts absorb some of the vibration of the engine to reduce noise. On Madrone’s engine, there are a total of four mounts – one more or less on each corner of the engine.
In theory, replacing the mounts is simple – just lift the engine, unbolt the old ones from the hull stringers on one side and the engine on the other, and then reverse the process with the new mounts. On a boat, however, nothing is simple. The 20+ year old steel bolts can be hard to remove, and access to the corners of the engine is tight even with a relatively large engine space. Then there’s the challenge of getting the engine back into exactly the right location relative to the prop shaft so that the whole system turns smoothly and without vibrations.

After we lifted the port aft part of the engine we were ready to remove the old mount
For part of the project, we were lucky. After a several day soak in penetrating oil, the steel bolts unthreaded from the steel plates bedded in the fiberglass stringers without too much trouble, and the nuts holding the mounts to the engine were just as easy.

Ready for the new mount
Without good access to the top of the engine to be able to lift it externally, our plan was to support one corner of the engine at a time while we quickly swapped a single mount out. Even with the engine lifted as far as possible on the motor mount studs, though, there was still not enough clearance to twist the old mount out of place.

The new motor mount is in place. We are ready to lower the engine again
A quick bus ride to the local mall provided the perfect solution – a tiny hydraulic jack that would just barely fit under the corners of the engine. With the jack, an array of wood blocks, and a lot of nervous fretting about what would happen if the engine fell, we were able to extract each original mount in turn and replace it with a new one.

Using a wood block on top to the jack to lift and support the port forward side of the engine
With the mounts successfully replaced, it was on to the alignment. In order to run smoothly, the engine needs to be aligned to the prop shaft within a tolerance of 0.005″ (~0.1mm), and the prop shaft needs to be more or less centered in the tube that exits the hull. Too high or low, or too far to one side or the other, will cause the prop shaft to whip back and forth instead of spinning smoothly.

Shiny new motor mount
We’d adjusted the engine alignment previously, and part of the reason we did that is knowing that we’d want to have the skills to do it again when we changed the motor mounts. That turned out to be a good decision, because doing the alignment this time was significantly harder than previously. Since we’d moved the engine so far to replace the mounts, the alignment wasn’t even close to correct when we put it more or less back in the right place.
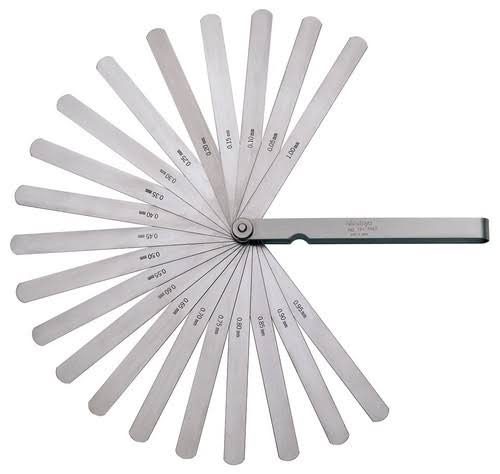
Feeler gauge used for engine alignment
Over the course of several days, we used feeler gauges to measure our offset, wrenches to lift and lower various corners of the engine, and a rubber mallet to make small adjustments to port or starboard. Eventually, we got the engine aligned to well within our tolerances. We drove the boat around for 10 hours or so of running time, and then we did it all again once the rubber on the motor mounts was broken in. Key to making all of the adjustments correctly and systematically was a fantastic guide written by a marine mechanic.

Mike working hard on engine alignment
After at least a week and a half of full-time work at this project, we can call it a success. It’s surprising how much more smoothly and quietly the engine sounds than it did before, and that means less noise for the crew and less vibration to rattle things loose on the boat.
Hopefully we won’t need to do this project again for many more years!